Chapter 4 of 12
Read this chapter as text
All 19 steps of this chapter, written out on one page. The activities and most pictures aren’t included: to see them, open a step in the lesson.
Step 1 Set up the table
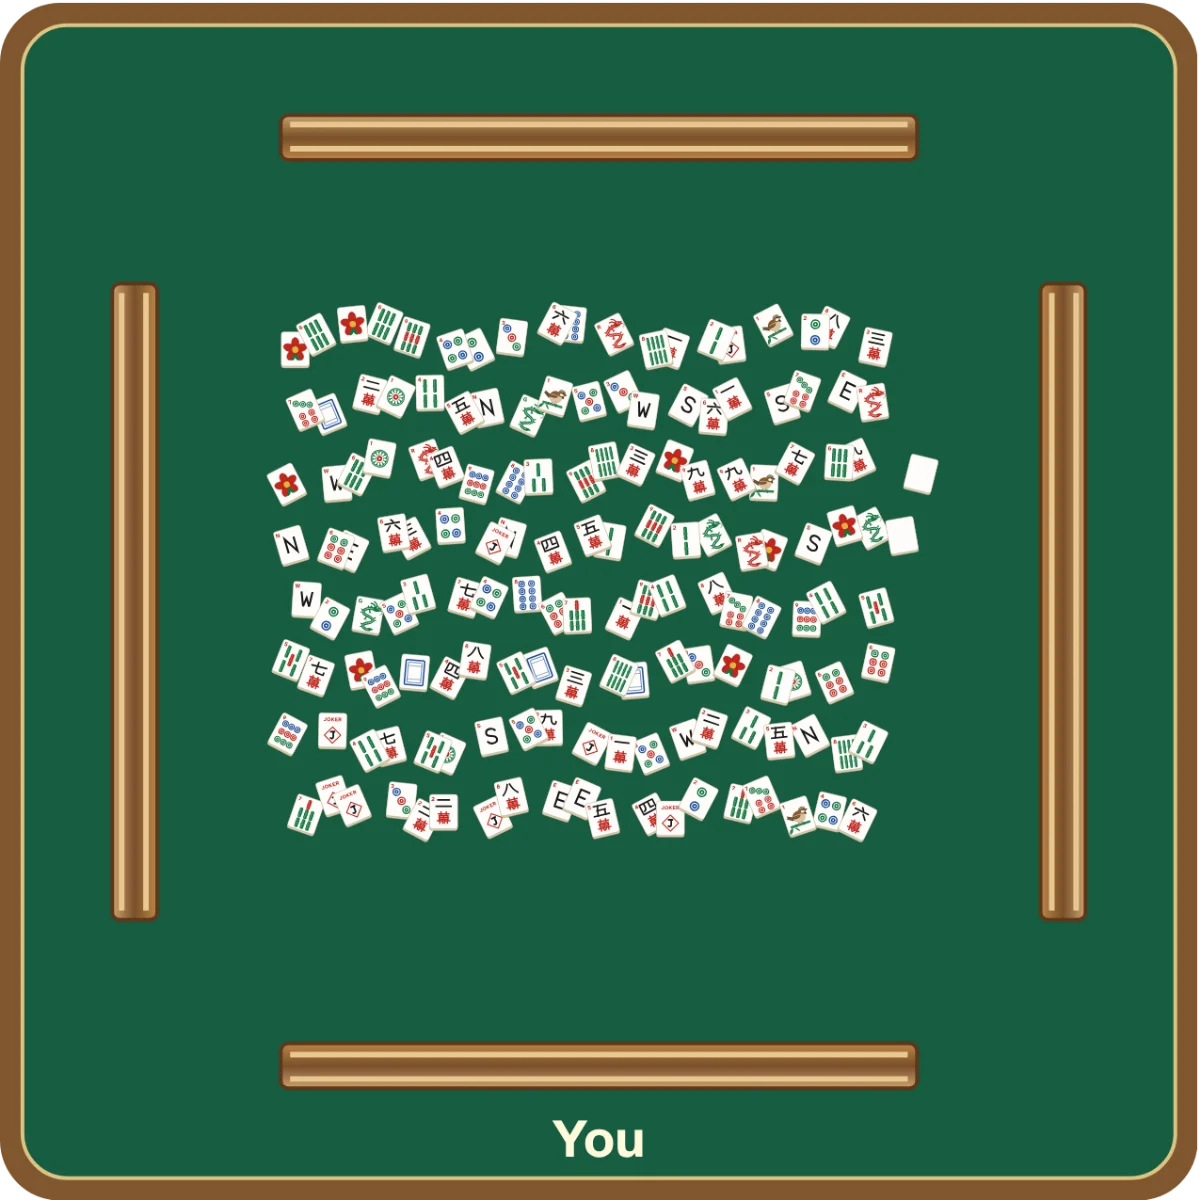
Before any game is played, all 4 players help set up the table. Together you mix the tiles, build the walls and take your starting tiles.
The 6 steps, in order
1. Mix the tiles
Put spare tiles back in the box. Turn all 152 tiles face down and mix them.
2. Build the 4 walls
Each player builds a wall along their rack: 19 stacks, 2 tiles high.
3. Pick East
Roll the dice. The highest total is East, who starts.
4. Break and push out the wall
East counts stacks from East’s right end and opens a gap. Then East pushes out the open section.
5. Take your starting tiles
Take 3 rounds of 4 tiles each. Then East takes 2 more and everyone else takes 1.
6. Check the count
East has 14 tiles and everyone else has 13. Then the Charleston starts.
You’ll practice each step, then do the whole deal yourself and answer 6 quiz questions. Use Next to start.
This browser saves your answers and your place on this device, so you can leave and come back. Revisit Chapter 3: Reading the card.
Step 2 Your rack
Your rack is the long stand in front of you. Your tiles sit on its front ledge and lean back on the sloping face, pictures toward you.
Your rack, seen from your chair. The 3 tiles on the flat top are only an example; Chapter 7 explains when groups go there.
The 2 places on your rack
Sloping face: your own tiles stand here, pictures toward you. The other players must not see their faces.
Flat top: later in a game, some groups of tiles go here, face up, for everyone to see.
To rack a tile is to stand it on the sloping face of your rack.
The rack is not the wall. Your rack holds your own tiles. The wall in front of it holds tiles that everyone takes from.
From above: your rack, with the wall in front of it. You’ll build the wall in step 4.
Step 3 Mix the tiles
Some sets come with spare tiles, such as blank ones. Put them back in the box: the game uses 152 tiles.
Spare tiles go back in the box, away from the table.
Every tile has 2 sides. The face shows its picture. From the back, all tiles look alike.
Face: the picture
Back: all tiles alike
Turn all 152 tiles face down. Keep the pictures out of sight, so no player can choose where certain tiles end up. Then all 4 players mix the tiles, moving them around with their hands.
You can see the backs of all 152 tiles. Drag across the table, or use the button, to watch them move.
Step 4 Build the 4 walls
Each player builds one wall in front of their own rack. A wall is made of stacks: 2 face-down tiles, one directly on top of the other.
Seen from the side: 1 stack is 2 tiles, both face down.
Lay 19 face-down tiles in a row. Then put another tile directly on top of each one. That makes 19 stacks of 2 tiles each: 38 tiles.
Your wall · ready to build
Seen from the front, from your chair.
Check the math
Each wall has 19 stacks of 2 tiles. How many tiles are in all 4 walls together?
Played another kind of Mahjong?
Some other kinds of Mahjong set aside part of the wall that is never used, called a dead wall. American Mah Jongg has no dead wall: every one of the 152 tiles can be used.
Step 5 Quick question: the finished walls
Pick one answer. If it isn’t right, you’ll see why and can try again.
Which statement is true of the 4 finished walls?
Step 6 Pick East
East is the player who starts. Many players call East the dealer, but East doesn’t hand out the tiles.
East also rolls the dice to break the wall, takes tiles first and starts with 14 tiles. Every other player starts with 13.
East’s seat is at the bottom here, by the dice.
A common way to pick the first East: each player rolls 2 dice, and the highest total becomes East. If players tie for the highest total, they roll again. Your group may agree on another way.
Try picking East
These 4 people each rolled a different total. Pick who becomes East.
Step 7 Name the seats and turns
At the example table below, you are East. South sits on your right, West sits across from you and North sits on your left.
- Turn order: 1 East, 2 South, 3 West, 4 North
These are game seats, not compass points in the room. Turns go East, South, West, North: each turn passes to the player on the right. Seen from above, that’s counterclockwise.
For later: who is East next game?
After each game, the player on East’s right becomes the new East.
This game
You are East.Next game
The player on your right is East. You are North.
Under the official rules, players also change seats every four games, once each player has been East; ask how your group does it.
For this chapter’s practice, you stay East.
Step 8 Find the break
To break the wall, East rolls 2 dice again and adds up the spots. Starting at East’s own right end, East counts that many stacks along East’s wall.
East opens a gap right after those stacks. The counted stacks are the saved stacks, used last. The rest is the open section, where taking starts, just past the gap.
+
= 7
East’s wall from above, with East’s rack below it. The stacks are numbered from East’s right end.
A closer look at the gap
Stack 8 is taken first. Stacks 7 and 6 are saved stacks, kept for last.
The 7 saved stacks are gold. Taking starts with stack 8, just past the gap. Every stack holds 2 tiles.
Where do you start?
The total is 7. Counting from East’s right end, which stack do you take first?
Saved for last doesn’t mean out of play. The saved stacks stay in the wall, and their tiles are taken later.
A name you may hear: the hot wall
Some groups call the saved stacks the hot wall and play extra house rules when they reach them. The official rules have no hot wall.
Step 9 Push out the open section
East pushes the open section out toward the center of the table, so every player can reach it. Players also call this serving the wall.
Leave the saved stacks where they are, by your rack; they are used last.
Here the dice total is 7. The 7 gold saved stacks stay by East’s rack. The other 12 stacks are the open section.
Step 10 Take your own tiles
In the deal, players take their starting tiles from the walls. East goes first, then South, West and North.
Take your own tiles and no others. Let the other players handle their own tiles and racks.
East takes the first 2 stacks, just past the gap: 4 tiles. East sets them down in front of East’s rack, still face down.
Keep your tiles in stacks for now
It’s best to keep the tiles you take in face-down stacks until every player has finished. The stacks show whose turn it is to take tiles next.
Once the deal is over, count your tiles and stand them on your rack, pictures toward you.
In some groups, one person hands out the tiles. The official rules recommend that each player take their own, and that’s the method you’ll learn here.
Step 11 Take 3 rounds of 4 tiles
Each take is 2 stacks side by side: 2 top tiles plus the 2 tiles right under them. That makes 4 tiles.
- Round 1: 4 tiles each.
East takes 4, then South, West and North do the same. Each player starts where the player before them stopped. - Round 2: 4 more tiles each.
Go in the same order again. Everyone now has 8. - Round 3: 4 more tiles each.
Repeat the order once more. Everyone now has 12.
Watch the walls shrink
Before round 1: East’s open section is pushed out. Nobody has taken any tiles yet.
East
0
tiles
South
0
tiles
West
0
tiles
North
0
tiles
Showing 0 of 3 rounds of 4 tiles each.
Step 12 Take the last 5 tiles
Everyone has 12. In the last round, East takes 2 more tiles and every other player takes 1.
After 3 rounds, the next 3 stacks are on North’s wall, numbered 1, 2 and 3 from the end nearest East. The close-up below shows them as North sees them, with the same numbers.
East takes the top tile of the next stack and the top tile of the 3rd stack. The top tile of the 2nd stack is left for West.
Then South takes the bottom tile of the next stack. West takes the top tile of the 2nd stack, and North the bottom tile under it. The bottom tile of the 3rd stack stays in the wall.
A closer look: the next 3 stacks, as North sees them
The 2 layers are pulled apart so you can see every tile. In the wall, each top tile sits directly on its bottom tile.
3rd stack
2nd stack
Next stack
Top
Bottom
← Taking moves along the wall, from the next stack toward the 3rd. The next stack is at the end nearest East.
Your turn: pick the 2 tiles East takes, then check your choice.
East
12
tiles
South
12
tiles
West
12
tiles
North
12
tiles
Step 13 Quick question: the right count
Pick one answer. If it isn’t right, you’ll see why and can try again.
Now that the deal is done, which count do you check?
Step 14 Go on to the next wall
East’s open section runs out before the deal is done. Keep East’s saved stacks for last. Next, the player on East’s left, North, pushes out their wall.
Carry on from the right end of North’s wall, as North sees it: the end nearest East.
After 6 takes, East’s open section is used up. North has pushed out North’s wall, and the next take is its 2 stacks nearest East. The 7 gold saved stacks wait by East’s rack.
When a take runs across 2 walls
Sometimes a wall runs out partway through a take. Then the player takes what’s left and finishes the take from the next wall. This happens whenever the dice total is an even number.
With a dice total of 8, the 6th take is East’s last open stack plus North’s first stack: 4 tiles.
You’ll make this take yourself in deal 2 of the full-deal practice.
Step 15 Turns go right, taking goes left
The deal uses 2 directions, and they do different jobs.
- Taking tiles from the walls: to the left, clockwise
- Turns: to the right, counterclockwise
Two directions that do different jobs
Turns go to the right:
East, South, West, North. Seen from above, that’s counterclockwise.
Taking tiles from the walls goes to the left:
East’s open section, then North’s wall, West’s and South’s, and East’s saved stacks last. Seen from above, that’s clockwise.
Moving to a new wall does not change whose turn it is. The order of turns stays the same.
Step 16 Practice the full deal
Practice the deal twice. In deal 1, East’s dice total is 7, so East’s wall starts out broken after 7 stacks. In deal 2, the total is 8, and one take runs across 2 walls. You make every player’s take, so you can learn the whole order. At a real table, take only your own tiles.
For each take, pick who takes next, then tap what they take on the wall. A light band on the table shows the same stacks. If your move is wrong, you’ll get a hint first.
East
0
South
0
West
0
North
0
0 of 16 takes completed · 152 tiles in the walls.
Who takes next?
East’s wall, as East sees it
Need a reminder?
In 3 rounds of East, South, West, North, each player takes 2 stacks: 4 tiles. Then East takes 2 top tiles, and South, West and North take 1 tile each.
Each take starts where the last one stopped and moves left along the wall. If a wall runs out partway through a take, finish the take from the next wall. East’s 7 saved stacks are used last.
Step 17 Count and rack your tiles
When everyone is done, check the count: East has 14 tiles and every other player has 13. If your count is off, say so before the Charleston starts.
After the deal: your rack, as East, holds 14 tiles. South, West and North hold 13 each. The walls still hold 99 tiles.
If a count is wrong
Don’t quietly fix it yourself, by taking a tile from the wall or putting one back.
Usually: deal again
A wrong count usually means a misdeal: the deal doesn’t count. Put the tiles back, mix them, build new walls and deal again.The one exception: North has 12
North, on East’s left, takes the last tile of the deal. If North forgot it and has only 12 tiles, North may take the next tile from the wall before East’s first discard. No one else may fix a count this way.
Chapter 10 covers a wrong tile count
Now stand your tiles on your rack, pictures toward you. Put each suit together so you can compare your tiles with your card. Don’t let the other players see your tile faces.
Your 14 tiles as East, sorted
Bams
Craks
Dots
Winds
Dragon
Flowers
Joker
What happens next?
The Charleston is a trade of tiles before ordinary play starts. You pass tiles you don’t want and get tiles that may help you.
Chapter 5 shows each pass in order. Don’t draw or discard yet. East makes the first discard after the Charleston.
The walls and starting tiles are set. Next, test what you know with 6 questions.
Step 18 Chapter quiz
Answer 6 questions on your own. For each question, your first answer counts. After you answer, read why it is right or wrong, then choose Next question.
Try to get all 6 right. Use your results to decide what to practice again; they don’t certify your skill at a real table.
Step 19 Your setup summary
1. Mix the tiles
Put the spare tiles back in the box. Then mix all 152 tiles face down.
2. Build the 4 walls
Every wall is 19 stacks long and 2 tiles high: 38 tiles. Each wall sits along its owner’s rack.
3. Pick East and name the seats
South sits on East’s right, West across and North on East’s left. Turns go to the right.
4. Break East’s wall and push it out
From East’s right end, count as many stacks as the dice total. Save those stacks for last and start just past the gap.
5. Take your starting tiles
After 3 rounds of 4, East takes 2 and everyone else takes 1. Taking tiles from the walls goes to the left.
The last round: who takes which tile
3rd stack
2nd stack
Next stackTop
Taken by
EastTaken by
WestTaken by
EastBottom
Stays in the wall
Taken by
NorthTaken by
South6. Check 14, 13, 13, 13
Stand your tiles on your rack and get ready for the Charleston. Don’t discard yet.
Practice away from the screen
Using a real set, build your 38-tile wall. Pretend you are East and roll a 4 and a 2.
Count the stacks, open the gap and point to the first 2 stacks you take. Say who takes after you, and when you stop taking 4 tiles at a time. Then find the take that runs across 2 walls, and say whose take it is.
Check your explanation
Count 6 stacks from your own right end and leave them for later. Take the next 2 stacks, stacks 7 and 8, for 4 tiles.
South, on your right, goes next. After 3 rounds, everyone has 12 and the last round begins.
With 6 saved stacks, your open section has 13 stacks, and the first 6 takes use 12 of them. So the 7th take, West’s, is the last stack of your open section plus the first stack of North’s wall.
Next chapter: the Charleston. Use Next to go to Chapter 5. To look at a step again, use Back or Chapter contents.
These activities act out setup on screen. They don’t prove that you can handle and count real tiles without practice.